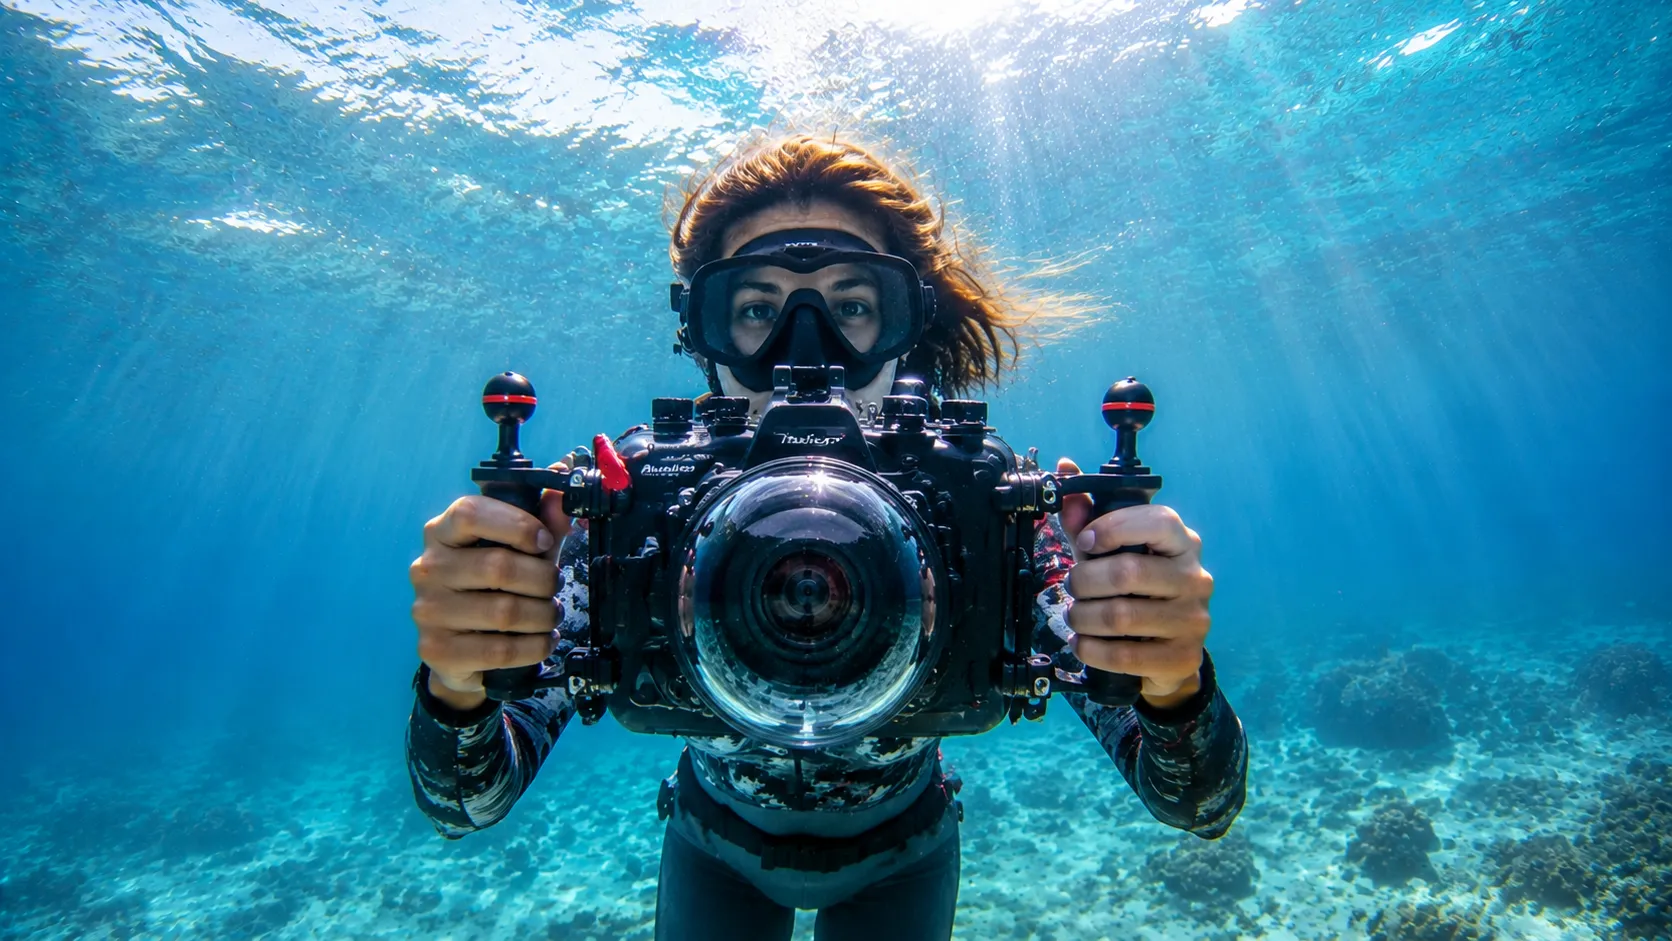
First, the core question: is underwater photography hard?
Not hard, but there is a threshold. The threshold is not whether you use a top-of-the-line camera, but whether you have a basic understanding of the underwater environment and light.
Many people take photos underwater for the first time and find the results are either a wash of blue-green or blurry. This is usually not because the camera is bad, but because the distance is too far and the light is too weak. Remember the first rule of underwater photography: get close, then get closer. Water absorbs light and color, so the farther you are from your subject, the grayer and bluer the image becomes. So instead of spending a lot of money upgrading your gear, first practice your neutral buoyancy so you can approach your subject steadily.
These 3 types of people are especially suited to learning underwater photography
People who already love diving: If you have already tried freediving or scuba diving, underwater photography adds a whole new dimension to your diving — from "seeing" to "recording and sharing".
People who want photos that stand out: The underwater world is another realm. You can capture compositions and light you would never see on land, and they make great material for social sharing.
People who enjoy taking on new skills: Underwater photography combines diving skills, photography technique and artistic judgment, and it is a very rewarding learning process.
What gear do you need for underwater photography? A clear set of options
A common mistake for beginners is wanting to buy the most expensive gear right away. It is better to start with what you already have and invest in stages.
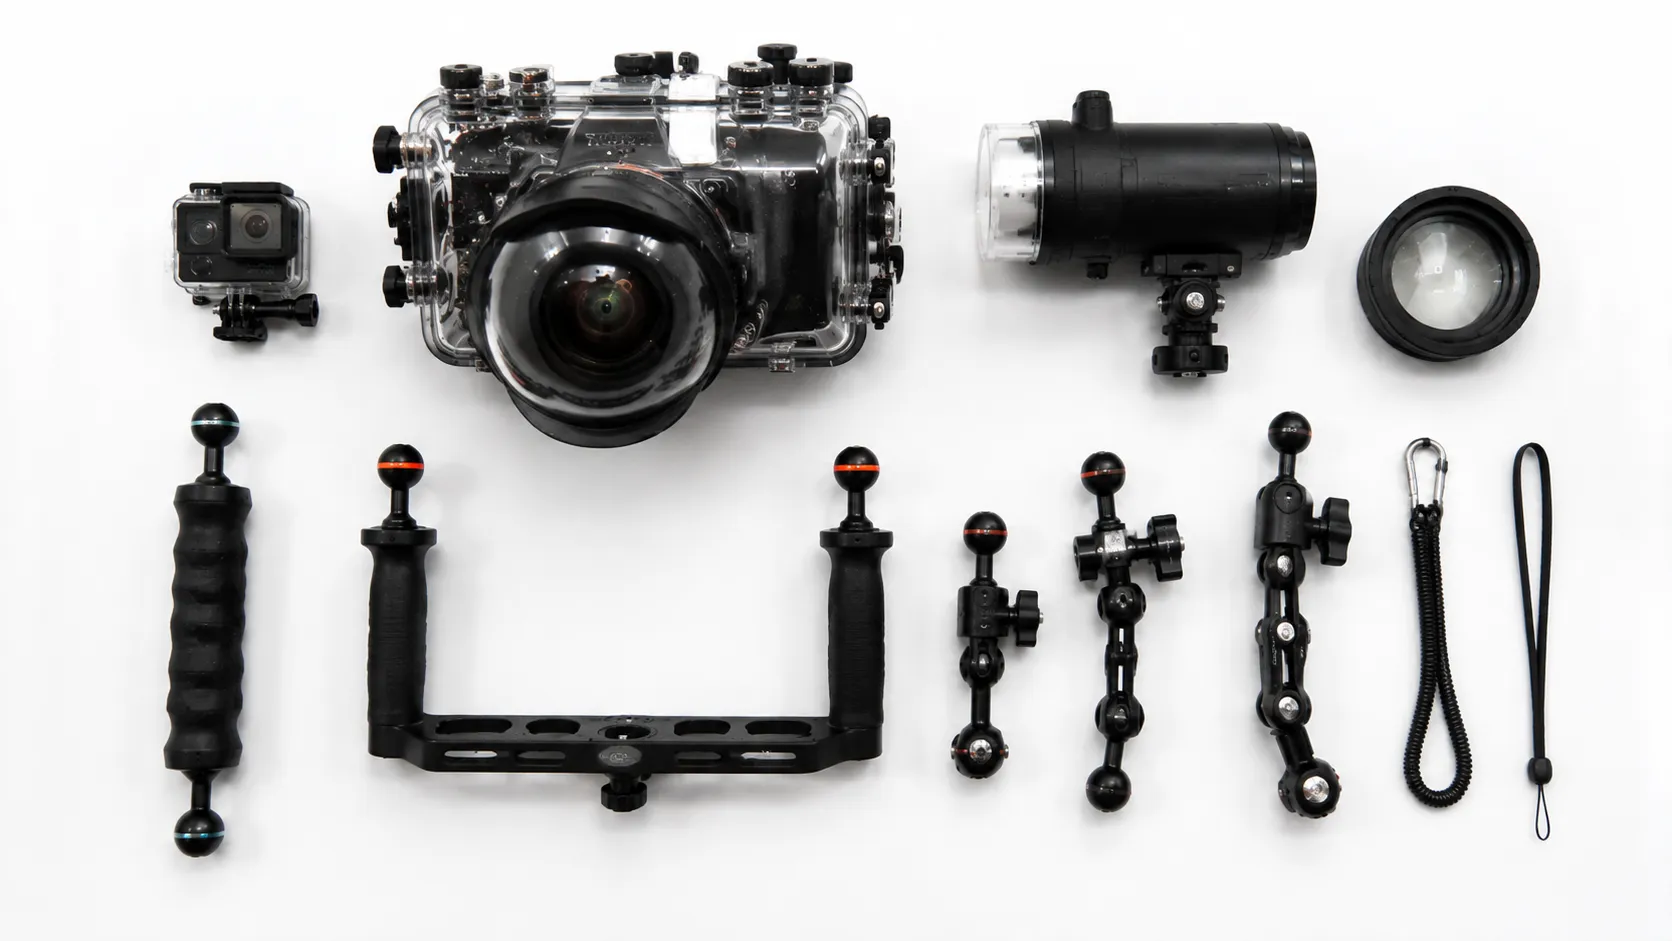
Option | Key gear | Reference budget | Who it is for |
|---|---|---|---|
Entry experience level | Action camera (e.g. GoPro) + manufacturer's waterproof housing | ¥2,500 - 4,500 | First attempts, mainly for recording and social sharing |
Intermediate creative level | Compact camera (e.g. Sony RX100 series) + dedicated waterproof housing | ¥10,000 - 18,000 | For those who want better image quality and manual control, and are starting to create seriously |
Professional enthusiast level | Mirrorless/DSLR + professional waterproof housing + underwater strobe | From ¥30,000 | For those who pursue the highest image quality and plan to do commercial or in-depth creative work |
Key reminder: Be sure to set aside part of your budget for "lighting". A single underwater video light or small strobe improves image quality more directly than upgrading your camera. Light is the soul of underwater photography.
The 3 mistakes beginners make most often, and how to fix them
Mistake 1: Being too far from your subject
Result: The photo looks hazy, colors are missing, and it is hard to fix even in post-processing.
Solution: As long as it is safe and does not disturb marine life, get as close as possible. For wide-angle shots, within 1-2 meters of the subject works better; for macro shots, the lens almost has to touch it.
Mistake 2: Not being able to control your buoyancy
Result: Your body drifts up and down, you cannot hold a steady composition, and you may even hit coral.
Solution: This is a required skill in underwater photography. In a pool or calm shallow water, practice using your breathing to control exactly where you hover in the water, until you can hold steady in one spot.
Mistake 3: Shooting angles that look too "touristy"
Result: Always shooting from eye level or looking down, so the photos lack impact.
Solution: Try shooting upward. Shooting from below toward the surface, with the blue water or a light-filtered boat hull as the background, can make the subject look larger and more striking.
Simple color grading to bring back the colors of the underwater world
Underwater photos looking blue/green is normal, because water absorbs red, orange and yellow light. The core of color grading is "recovering the missing colors".
Recommended tools: On a phone you can use "Snapseed" or "Lightroom mobile"; on a computer, "Lightroom" or "Photoshop".
A three-step quick color grading method:
Step 1: Correct white balance. First try "auto white balance"; if the result is not good, manually drag the temperature slider toward warm (yellow/orange) until the gray parts of the image (such as rocks or a wetsuit) look like natural gray.
Step 2: Brighten the exposure and add contrast. Raise the exposure to brighten the image, then increase contrast slightly so the photo looks less "gray".
Step 3: Adjust color. In the "HSL" or "Color Grading" panel, selectively increase the saturation of red and orange, which makes skin tones look more natural.
Underwater photography FAQ
Q: Can I learn underwater photography if I can't swim or dive?
A: Strictly speaking, no. But you can start with "pool shoots" or an "aquarium dive experience". With a professional photographer or instructor accompanying you, you can practice in a controlled shallow-water environment.
Q: Can I shoot with a phone in a waterproof housing?
A: Absolutely. It works well for everyday records and social media sharing, but there are some limits on image quality and autofocus speed. You could buy a reliable waterproof housing first and start practicing with your phone's built-in camera app.
Q: How do I maintain an underwater camera?
A: After every use, you must soak it in fresh water for 15-30 minutes, pressing all buttons and dials several times during the soak to dissolve out the salt. Then dry it with a clean soft cloth and store it in a dry, well-ventilated place.
Q: Where can I learn underwater photography more systematically?
A: Many dive centers or photography organizations run "underwater photography workshops" or "underwater photography courses", which usually combine theory with practical shooting guidance. You can also search for related online tutorials and communities. (Mywowtrips.com is also preparing a course — stay tuned!)
Summary
Underwater photography is not about whose gear is more expensive, but about who can "get close, stay steady, and be patient". Start with the gear you already have, bravely move closer to your subject underwater, and patiently practice controlling your breathing and buoyancy, and you can take striking photos.